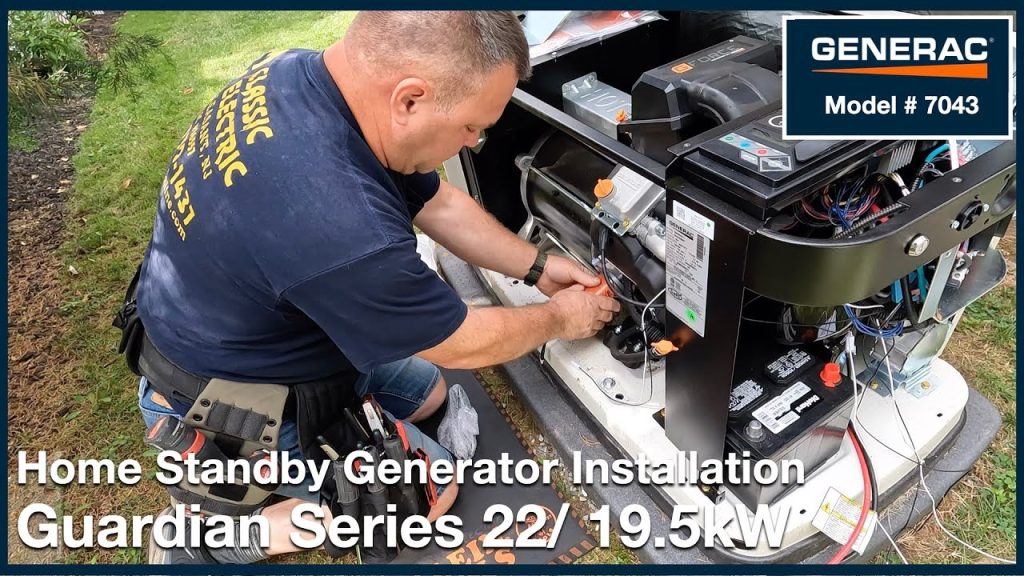
Imagine this: a severe storm hits, and suddenly, everything goes dark. Your fridge stops humming, your lights flicker out, and your phone battery is at a dismal 10%.
In moments like these, having a standby generator can be a lifesaver. But how do you get it set up and ready to power your home when you need it most? This guide will walk you through the simple steps to hook up a standby generator.
You don’t need to be an electrician to understand these straightforward instructions. By the end of this article, you’ll be equipped with the knowledge to ensure your home stays bright, warm, and connected, no matter what the weather brings. Ready to take control of your power supply and never be left in the dark again? Let’s dive in!
Credit: canterpowersystems.com
Choosing The Right Generator
Standby generators come in different types. The most common are portableand automatic standbymodels. Portable generators need manual setup. Automatic standby models turn on by themselvesduring power loss. This type is best for whole-house backup.
Choosing the right sizeis important. A generator must handle your power needs. Calculate the total watts of devices you want to power. Add a bufferfor safety. Too small, and it won’t work well; too big wastes money.
| Fuel Type | Pros | Cons |
|---|---|---|
| Natural Gas | Clean burning, unlimited supply if connected | Needs gas line, not available everywhere |
| Propane | Portable, long shelf life | Can be expensive, needs tank refill |
| Diesel | Powerful, efficient | Loud, produces fumes |
Preparing For Installation
Choose a flat, dry spot for the generator. It should be away from windows and doors. This keeps exhaust fumes outside your home, ensuring safety. The area must allow easy access for maintenance and refueling.
- Gather tools like a wrench, screwdriver, and wire strippers.
- Have a voltage tester and grounding rod ready.
- Use proper safety gear: gloves and goggles.
Check with local authorities for installation codes. Some areas require permits or specific wiring rules. This prevents legal issues and ensures the system works properly. Follow all guidelines to keep your home and family safe.
Installing The Transfer Switch
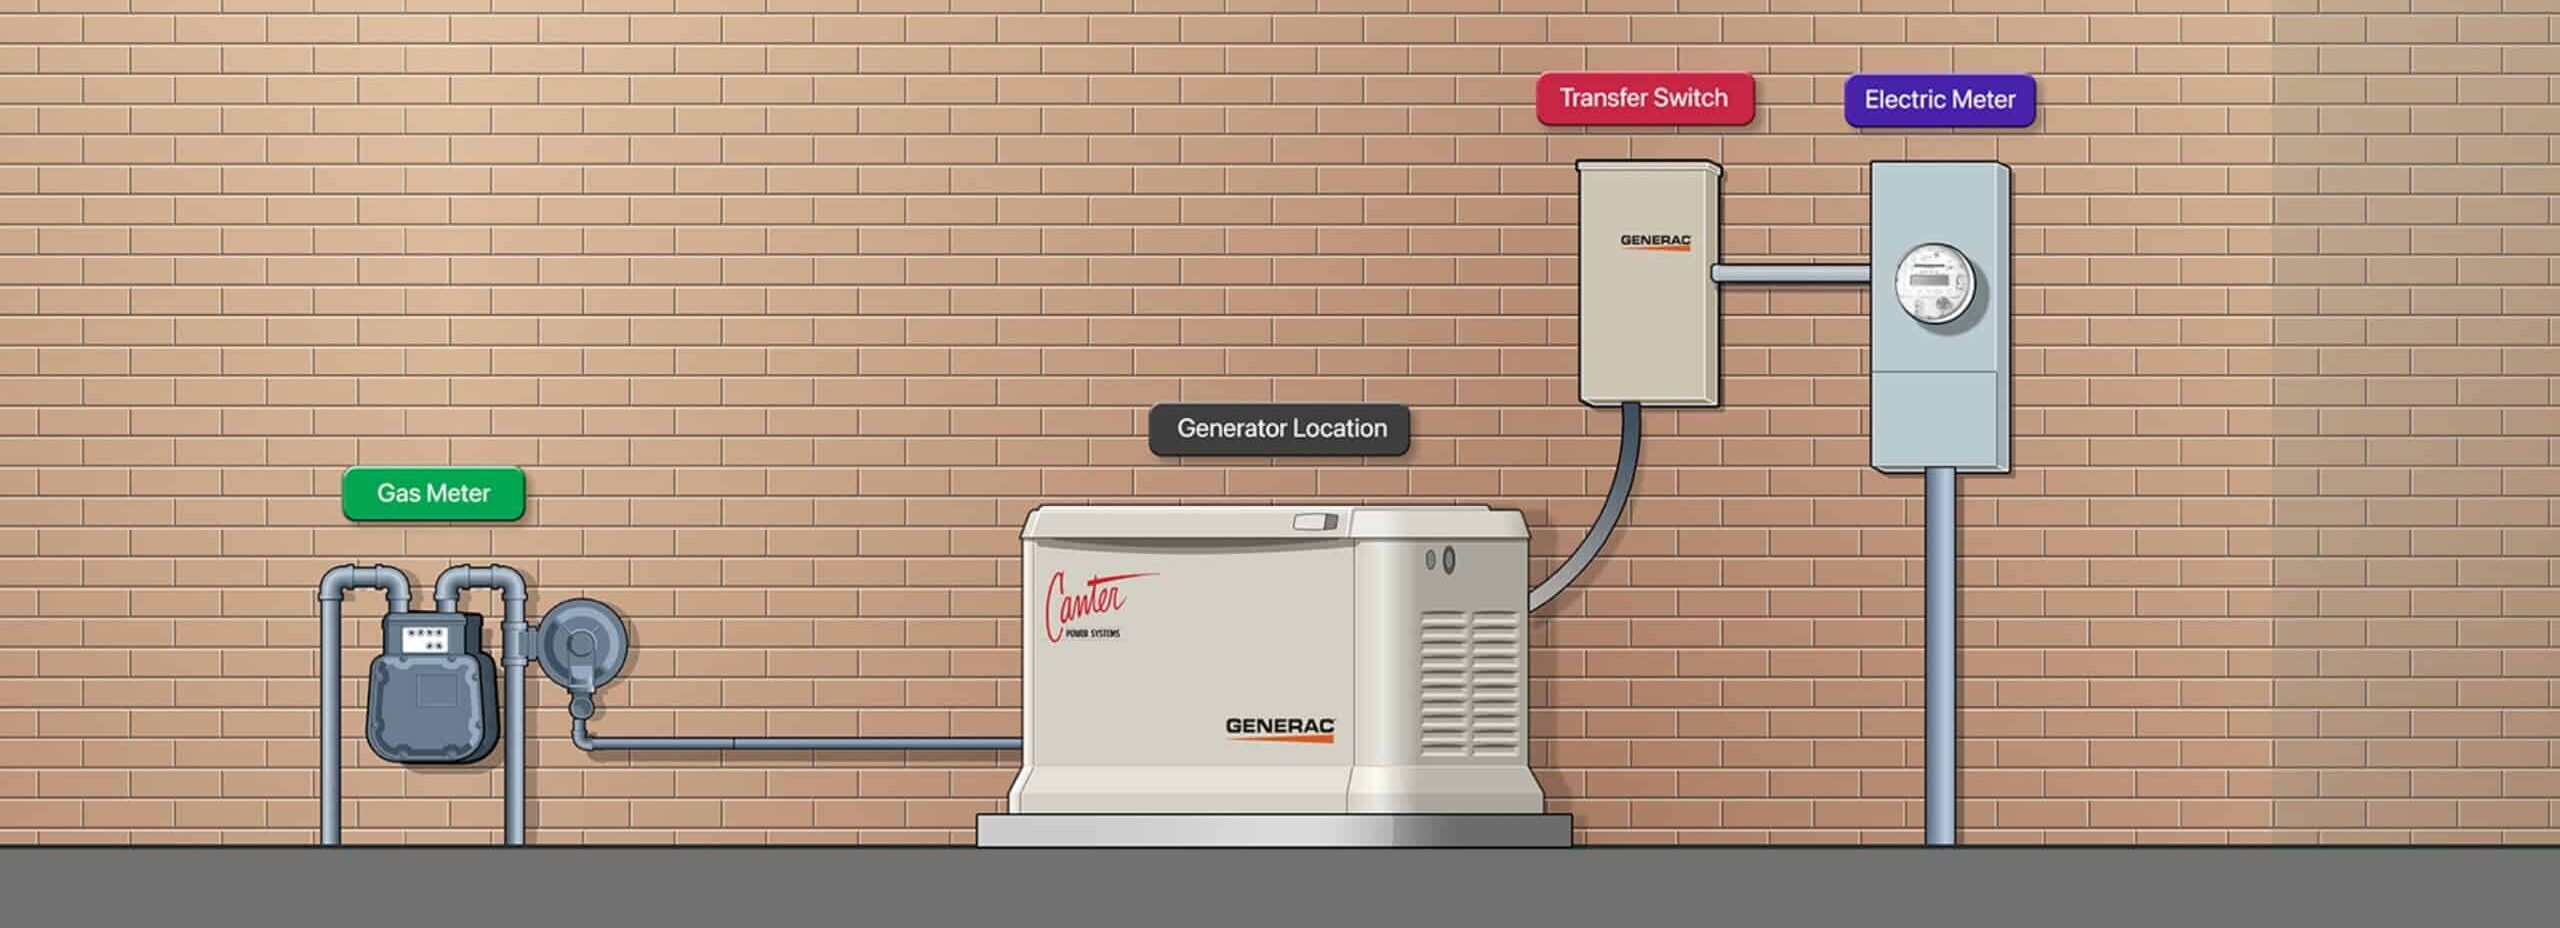
Transfer switchescontrol power flow from the generator to the home. They prevent power from the generator feeding back into utility lines. This keeps workers safe during outages.
Two common types exist:
- Manual transfer switchesrequire you to flip a switch when power goes out.
- Automatic transfer switchesswitch power automatically when they detect an outage.
Wiring basicsinclude connecting the generator to the transfer switch. Use wires rated for your generator’s power output. Ground the system properly to avoid shocks or fires.
Connecting to the main panelmeans linking the transfer switch to your house’s circuit breaker panel. This step isolates circuits powered by the generator. It prevents overloading your home wiring.
Connecting The Generator
Position the generatoron a flat, stable surface. Keep it away from doors and windows to avoid fumes entering your home. Leave enough space around the unit for airflow and maintenance.
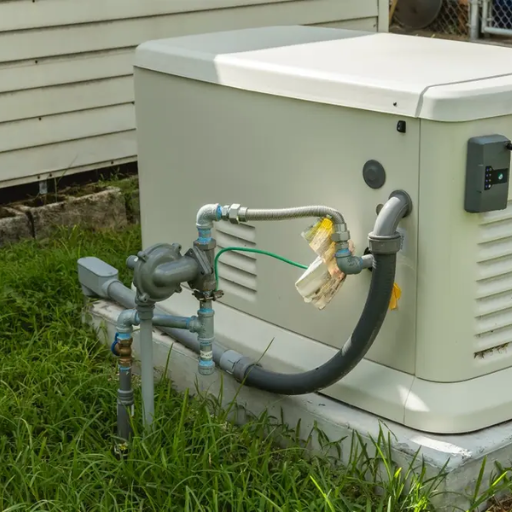
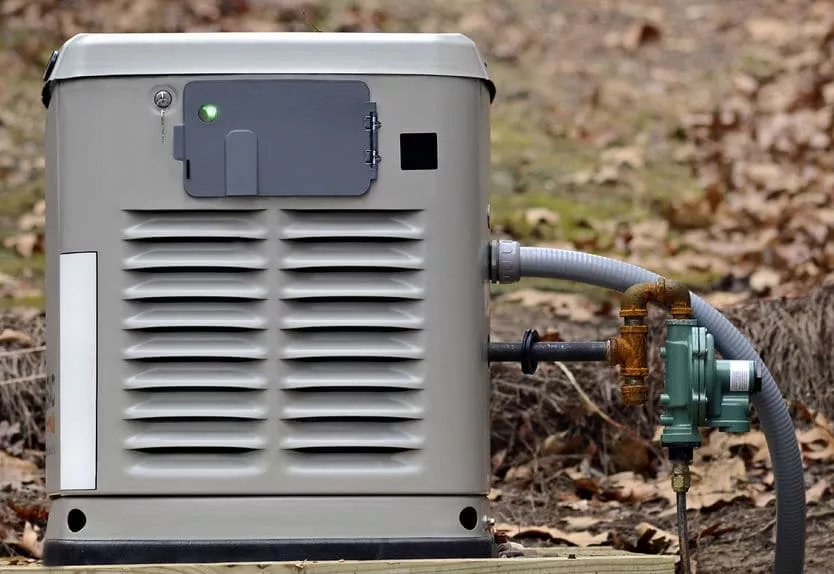
Set up fuel and exhaustsystems carefully. Use the right fuel type as specified by the manufacturer. Connect fuel lines securely to prevent leaks. Install the exhaust pipe to direct fumes safely outdoors, away from living areas.
Make electrical connectionswith safety in mind. Turn off the main power before starting. Use a transfer switch to connect the generator to your home’s electrical panel. This prevents backfeed, which can be dangerous. Use proper wiring and follow local codes to ensure safe operation.
Testing And Maintenance
Start the generator and let it run for a few minutes. Check for any unusual noises or smells. Make sure the unit powers your essential devices properly. This test ensures the system is ready when needed.
- Check oil and coolant levels regularly.
- Clean or replace air filters every 6 months.
- Run the generator monthly to keep parts lubricated.
- Inspect battery connections for corrosion.
- Keep the generator area free of debris.
| Issue | Possible Cause | Solution |
|---|---|---|
| Generator won’t start | Dead battery or low fuel | Charge battery or refill fuel tank |
| Power fluctuations | Loose connections or overload | Tighten wiring and reduce load |
| Strange noises | Loose parts or worn engine | Inspect parts and replace if needed |
Credit: shgeneratorset.com
Credit: www.premium-electric.ca
Frequently Asked Questions
What Tools Are Needed To Hook Up A Standby Generator?
You need basic electrical tools like wire strippers, screwdrivers, and a voltage tester. Safety gear such as gloves and goggles is essential. Also, have a transfer switch and proper wiring materials ready for a secure and compliant installation.
How Do I Connect A Standby Generator To My Home’s Power?
First, install a transfer switch to safely connect the generator to your home’s electrical system. Then, run the generator’s output wires to the switch. Always follow local codes and consult a professional electrician to ensure safe and legal hookup.
Can I Install A Standby Generator Myself Safely?
DIY installation is possible but risky without electrical expertise. It requires knowledge of wiring, permits, and safety codes. Hiring a licensed electrician is recommended to avoid hazards and ensure the system works properly during power outages.
How Do I Test My Standby Generator After Hookup?
Run the generator under load using the transfer switch to power some circuits. Check for stable voltage output and listen for unusual noises. Regular testing ensures the generator will function correctly during an outage.
Conclusion
Hooking up a standby generator is easier than it seems. Follow each step carefully for safe and reliable power. Always check your work and use proper tools. Keep your generator maintained to ensure it works when needed. Power outages won’t catch you off guard anymore.
Stay prepared and protect your home with confidence.