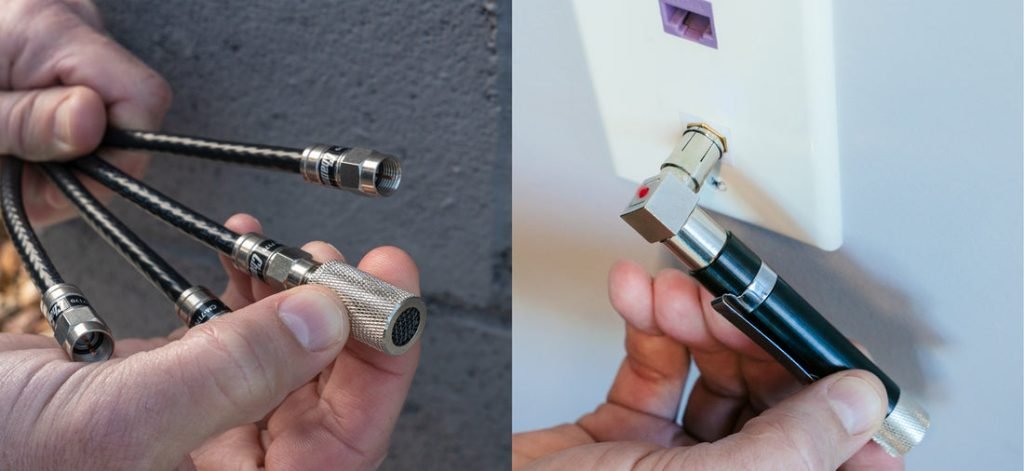
Are you relying on a generator to keep your home or business powered during outages? If so, ensuring that your generator cables are in top-notch condition is crucial.
Damaged cables can lead to power failures, costly repairs, or even dangerous electrical hazards. But how do you know if your cables are damaged? This guide will walk you through the simple steps to inspect your generator cables for damage, empowering you to prevent potential problems before they arise.
By the end of this article, you’ll have the confidence and know-how to keep your generator running smoothly and safely. Let’s get started and ensure your power source is as reliable as you need it to be.
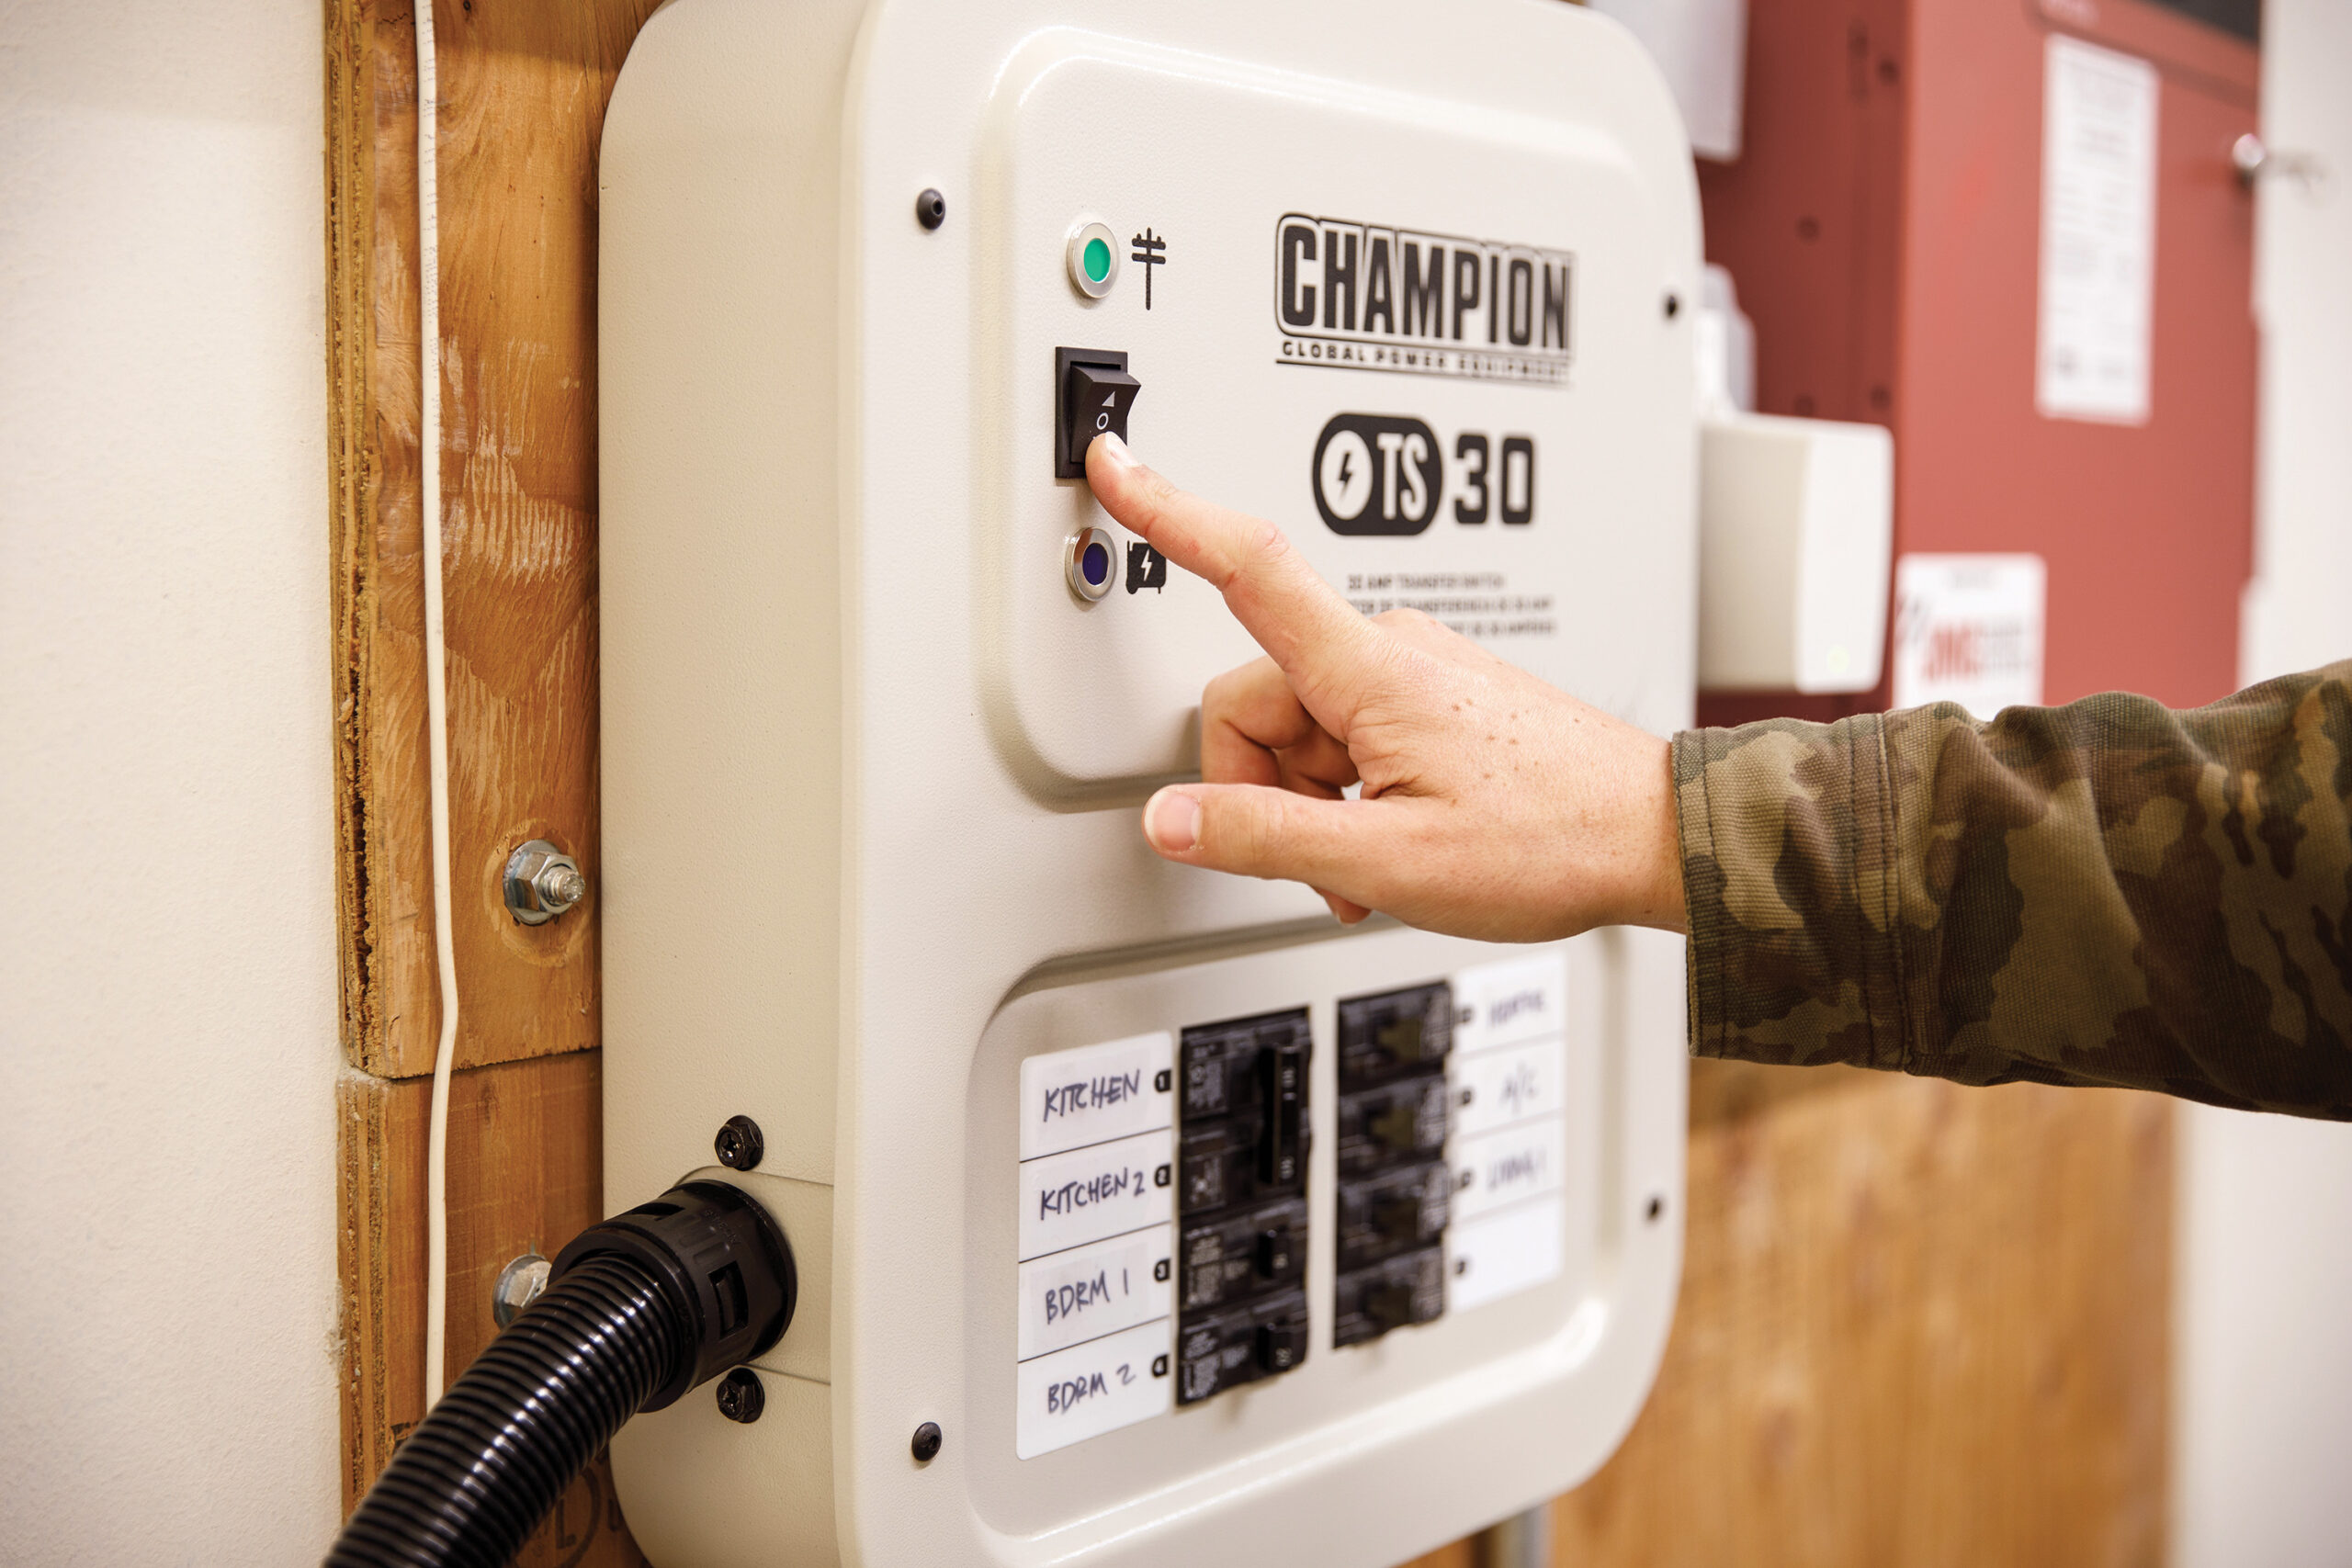
Credit: www.championpowerequipment.com
Signs Of Cable Damage
Visible cuts and abrasionson generator cables can cause serious problems. These breaks expose the inner wires, making them unsafe to use. Always check the entire cable length carefully.
Exposed wiresare a major risk. They can cause electric shock or short circuits. Never use cables with visible copper or metal parts showing.
Burn marks and discolorationoften mean the cable has overheated. This can happen from too much current or a bad connection. Such cables should be replaced immediately.
Corrosion and ruston connectors or cable ends reduce power flow and cause failure. Moisture and dirt increase this risk. Clean and dry cables regularly to prevent damage.

Credit: www.youtube.com
Tools For Inspection
A flashlighthelps see small cracks or cuts on cables. A magnifying glassmakes tiny damage easier to spot. Both tools are simple but very useful for close inspection.
A multimeterchecks if electricity flows through the cable. It helps find breaks inside wires that are not visible. This tool shows if cables are still working well.
An insulation resistance testermeasures how well cable insulation blocks electricity. It finds hidden problems that can cause short circuits or shocks. This tester keeps cables safe to use.
Step-by-step Inspection Process
Ensure the generator is powered offand disconnectedfrom any power source. This step is vitalfor safety. Never inspect cables while power is on.
Look closely at the cable surface. Check for cuts, cracks, burn marks, or exposed wires. Damage like this can cause short circuitsor failures. Pay special attention to connectors and plugs.
Bend the cables gently. Feel for stiffor brittlespots. These may break during use. Flexing helps detect hidden damage not visible by eye.
| Test Type | Purpose | How to Perform |
|---|---|---|
| Continuity Test | Check if wires inside are unbroken | Use a multimeter to measure resistance. Should be near zero. |
| Insulation Resistance Test | Check cable insulation quality | Use an insulation tester to measure resistance. High resistance means good insulation. |
Common Cable Issues
Frayed or broken conductorscan cause power loss and short circuits. Check cables for any visible cuts or exposed wires. Touch cables carefully to find any weak spots.
Loose connectionsmay create sparks or heat. Make sure all plugs and terminals fit tightly. Wiggle the cable ends gently to test firmness.
Water damagecan cause rust and electrical faults. Look for damp or wet areas on cables. Dry cables fully before use and avoid placing them in wet spots.
Overheating effectsshow as melted insulation or dark spots. Check cables for soft or burnt areas. Overheating can cause failure or fire risk.
Safety Precautions
Wearing protective glovesand eye protectionkeeps you safe from sparks and sharp edges. Use insulated toolsto avoid electric shocks. Avoid wearing loose clothes that can catch on cables.
Never inspect generator cables in wet or damp conditions. Water conducts electricity and raises the risk of shock. Wait until the area is drybefore starting your check.
Use proper toolsdesigned for electrical work. A multimetercan test cable continuity and voltage safely. Avoid using damaged or worn-out tools.
Always follow the manufacturer’s guidelinesfor inspecting and handling cables. These instructions ensure safe and correct procedures. Check for any updates or warnings before you begin.
Maintenance Tips
Regularly check generator cables for cracks, cuts, or worn spots. Look closely at connectors for corrosion or loose wires to ensure safety.
Regular Inspection Schedule
Check generator cables at least once a month. Look for cuts, cracks,or frayed wires. Inspect connectors for rustor looseness. Use a flashlight to see hidden damage. Keep a log of inspection dates and findings.
Proper Storage Techniques
Store cables in a dry, cool place. Avoid direct sunlight and heat sources. Coil cables without tight bends to prevent internal wire breakage. Use cable ties or hangers to keep cables off the floor. Protect cables from sharp objectsand moisture.
Repair Vs Replacement Criteria
| Condition | Action |
|---|---|
| Minor surface cracks or small cuts | Use electrical tape or cable sleeves for repair |
| Exposed wires or deep cuts | Replace cable immediately to avoid hazards |
| Loose or corroded connectors | Clean or replace connectors |
| Multiple damaged areas along cable | Replace the entire cable |

Credit: www.amazon.com
Frequently Asked Questions
How Often Should Generator Cables Be Inspected For Damage?
Generator cables should be inspected every three to six months. Frequent checks prevent unexpected failures and ensure safety. Regular inspections help identify wear, cracks, or corrosion early, reducing repair costs and downtime.
What Are Common Signs Of Damage In Generator Cables?
Look for cracks, cuts, fraying, discoloration, and exposed wires. Also, check for stiffness or brittleness, which indicate aging. Damaged insulation or connectors can cause short circuits or power loss.
Can Damaged Generator Cables Cause Safety Hazards?
Yes, damaged cables pose fire and electric shock risks. Faulty cables can lead to short circuits or equipment failure. Regular inspections help detect hazards and maintain safe operation.
What Tools Are Needed To Inspect Generator Cables Properly?
Basic tools include a flashlight, multimeter, and insulated gloves. A flashlight reveals hidden damage, while a multimeter tests continuity. Insulated gloves protect against electric shocks during inspection.
Conclusion
Regularly check generator cables for cuts, cracks, or wear. Small damages can cause big problems later. Use a flashlight to see hidden spots clearly. Keep cables clean and dry to avoid rust and shorts. Replace damaged cables quickly to stay safe and keep power steady.
A little care goes a long way in preventing failures. Stay alert and inspect cables often to protect your generator. Safety and reliability depend on good cable care.