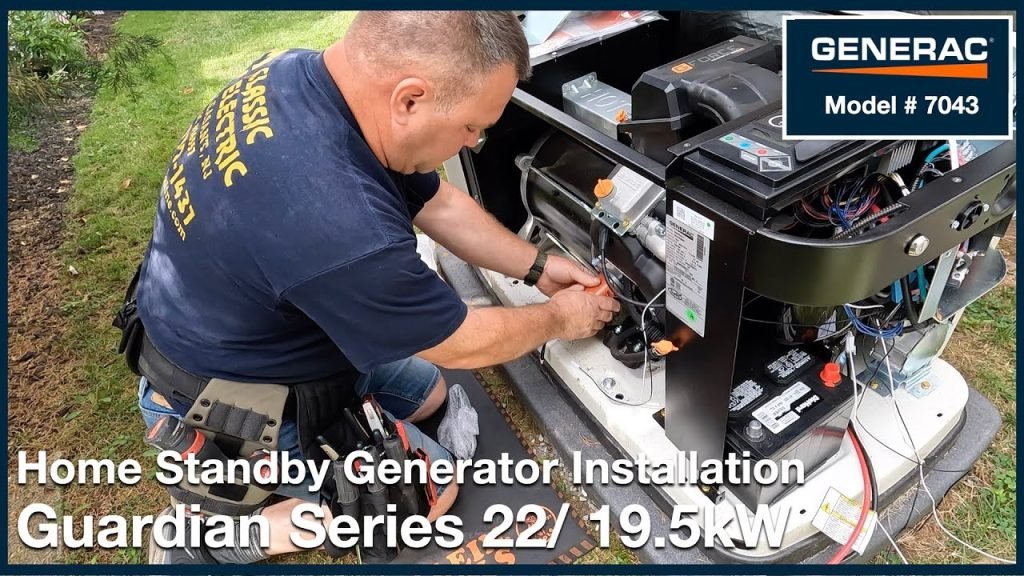
Are you worried about unexpected power outages disrupting your daily life? Installing a Generac standby generator might be the solution you need.
Imagine the peace of mind knowing your home will stay powered, no matter what. In this guide, you will learn the steps to install a Generac standby generator, ensuring your home stays safe and comfortable during any power failure. Whether you’re a DIY enthusiast or just someone looking to safeguard your home, this article will provide you with clear, easy-to-follow instructions.
Keep reading to discover how you can enhance your home’s reliability and protect your family from the inconvenience of power interruptions.
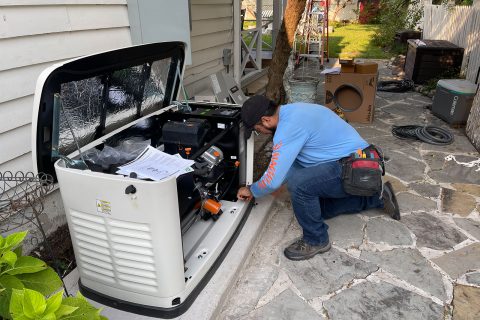
Credit: greatbrotherelectrical.com
Choosing The Right Generator
Assess power needs by listing the devices you want to run. Include lights, fridge, and heater. Add their wattage to find total power.
Selecting the right generator size means matching this total wattage. Choose a generator with a bit more power than your total. This ensures it can handle startup surges from some appliances.
| Fuel Type | Pros | Cons |
|---|---|---|
| Natural Gas | Long-lasting, no refills needed | Needs gas line connection |
| Propane | Portable, burns clean | Requires tank refills |
| Diesel | Powerful, good for large loads | Can be noisy, needs fuel storage |
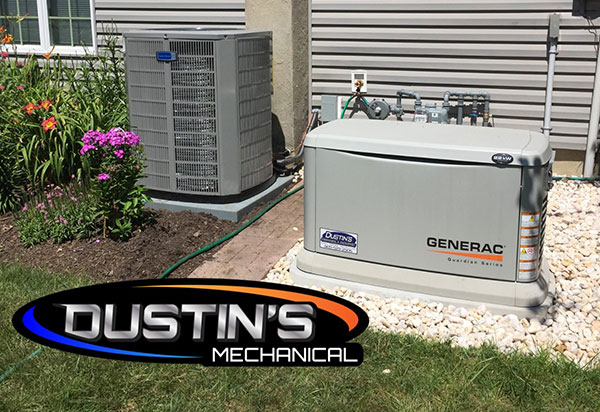
Credit: dustinsmechanical.com
Preparing The Installation Site
Check local rulesbefore starting installation. Some areas need permitsor inspections. Contact your city or county office for details.
Choose a flat, level spotoutside your home. The location should be close to your main electrical panel. Keep it away from doors, windows, and vents to avoid fumes entering your home.
Clear the ground of grass, plants, and debris. Prepare a solid baselike a concrete pad or gravel bed. This helps keep the generator stable and dry.
Gathering Required Tools And Materials
Before starting, gather all necessary tools and materials. This ensures a smooth installation process. Common tools include:
- Wrench set
- Screwdrivers
- Wire strippers
- Voltage tester
- Drill with bits
You will also need specific materials like:
- Generac standby generator unit
- Transfer switch
- Electrical wires and connectors
- Concrete pad or mounting base
- Fuel supply lines (natural gas or propane)
Check the installation manualfor any extra tools or parts. Safety gear such as gloves and goggles is important too. Having all items ready saves time and avoids interruptions.
Installing The Generator Base
Build a concrete padthat is strong and flat. The pad must support the generator’s weight. It should be at least 4 inches thick and extend 2 feet beyond the generator’s base on all sides.
Use a wooden frame to hold the concrete in place. Pour the concrete inside the frame evenly.
Check the pad with a level tool. Make sure the surface is completely flatand even. A level surface helps the generator work well and last longer.
- Measure the area before pouring concrete
- Mix concrete as per instructions
- Pour concrete and smooth the top
- Use a level to check flatness
- Let concrete dry for 24-48 hours
Mounting The Generator
Place the generator on a flat, stable surface near your home. Make sure it is at least 5 feet away from windows and doors. This helps keep exhaust gases outside. Choose a spot where the unit will not block pathways or driveways. Avoid areas prone to flooding or heavy snow.
Secure the generator firmly to prevent movement during storms or earthquakes. Use concrete pads or mounting brackets designed for Generac units. Bolt the unit tightly to the base. Check that all bolts and screws are tight after installation.
- Flat, stable surface
- Minimum 5 feet from openings
- Away from flood zones
- Use concrete pad or brackets
- Tighten all bolts securely
Connecting Electrical Components
Install the transfer switchnear your main electrical panel. This switch controls power flow between the generator and the grid. Connect the switch wires to your main panel using proper gauge cables. Ensure all connections are tight and secure to avoid electrical faults.
Wiring the generator involves linking it to the transfer switch. Use weatherproof cablessuitable for outdoor use. Follow the generator’s wiring diagram carefully. Connect the output terminalsfrom the generator to the switch input.
Ground the system for safety. Attach a grounding rod to the generator frame. Use a copper wire to connect the rod to the generator’s grounding lug. This helps prevent electrical shocks and protects your equipment.
Hooking Up Fuel Supply
Connecting natural gas lines requires care and proper tools. Always check local codes before starting. Use a pipe wrench to attach the gas line to the generator’s inlet. Ensure all connections are tight to avoid leaks. Apply pipe thread sealant to threads for a secure fit. Turn off the main gas supply before working on the lines. After connections, test for leaks using soapy water. Bubbles indicate a leak that needs fixing.
Setting up a propane tank involves placing it on a flat surface near the generator. Connect the propane hose from the tank to the generator’s fuel inlet. Use a regulator to control gas pressure. Tighten all fittings securely. Open the tank valve slowly to check for leaks. Propane tanks must be kept upright and away from heat sources. Regularly inspect hoses and fittings for damage or wear.
Testing The Generator
Performing initial startuprequires careful attention. First, check all fuel and oil levels. Make sure the battery is fully charged. Turn the generator on using the manual or automatic switch. Listen for any unusual sounds. Watch for warning lights or error codes on the control panel. Let the generator run for about 10 minutes to stabilize. This helps ensure all parts work smoothly.
Running load testsverifies the generator can handle power demands. Connect appliances or devices gradually. Start with small loads, then increase step by step. Monitor voltage and frequency closely. Make sure the generator does not shut down or overheat. Check that the transfer switch moves power to your home correctly. Record any issues and fix them before regular use. This process confirms reliable power when needed.
Maintenance Tips
Regular inspection is key for a Generac standby generator. Check for loose connectionsand signs of wearevery month. Look at the batteryand cables to ensure they are clean and tight.
Scheduled servicing keeps the generator running smoothly. Change the oil and air filter at least once a year. Test the system by running it under load to confirm it starts and runs well.
- Inspect the generator for dirt and debris.
- Check fuel levels and quality regularly.
- Keep the area around the generator clear and dry.
- Schedule professional maintenance yearly.
- Replace worn parts promptly.
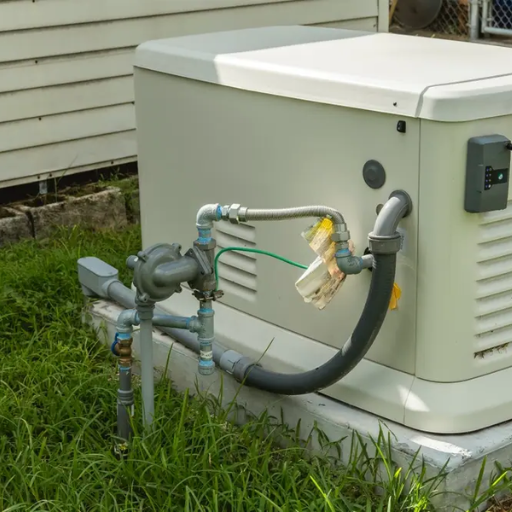
Credit: shgeneratorset.com
Frequently Asked Questions
What Tools Are Needed To Install A Generac Standby Generator?
You need basic tools like a drill, wrenches, screwdrivers, and wire strippers. Safety gear and a level are also important. Having all tools ready speeds up the installation and ensures safety.
How Long Does It Take To Install A Generac Standby Generator?
Installation usually takes 4 to 8 hours. Time varies based on site conditions and experience. Professional installation is recommended to ensure proper setup and safety compliance.
Can I Install A Generac Generator Myself?
Yes, but it requires electrical and mechanical skills. Improper installation risks safety and voids warranty. Hiring a certified electrician or technician is advised for best results.
Where Should I Place My Generac Standby Generator?
Place it outdoors on a flat, stable surface. Keep it 5 feet away from windows and doors for safety. Ensure proper ventilation and access for maintenance.
Conclusion
Installing a Generac standby generator brings reliable power to your home. Follow each step carefully to ensure safety and proper function. Check all connections and test the system before regular use. Routine maintenance will keep your generator running smoothly. Enjoy peace of mind during power outages.
A well-installed generator protects your family and home. Take your time, and don’t rush the process. You can do this with patience and care. Stay prepared and safe with your new generator.