Are you tired of power outages disrupting your daily life? Imagine a storm hits, the power goes out, and everything from your lights to your refrigerator stops working.
But what if you could have peace of mind knowing that your home will stay powered no matter what? Installing a standby generator transfer switch is the key to keeping your home running smoothly during those unexpected blackouts. This guide will show you exactly how to install one, making sure your home is always ready for any power interruptions.
By the end of this article, you’ll feel confident in taking control of your home’s power supply. Ready to never be left in the dark again? Let’s get started!
Choosing The Right Transfer Switch
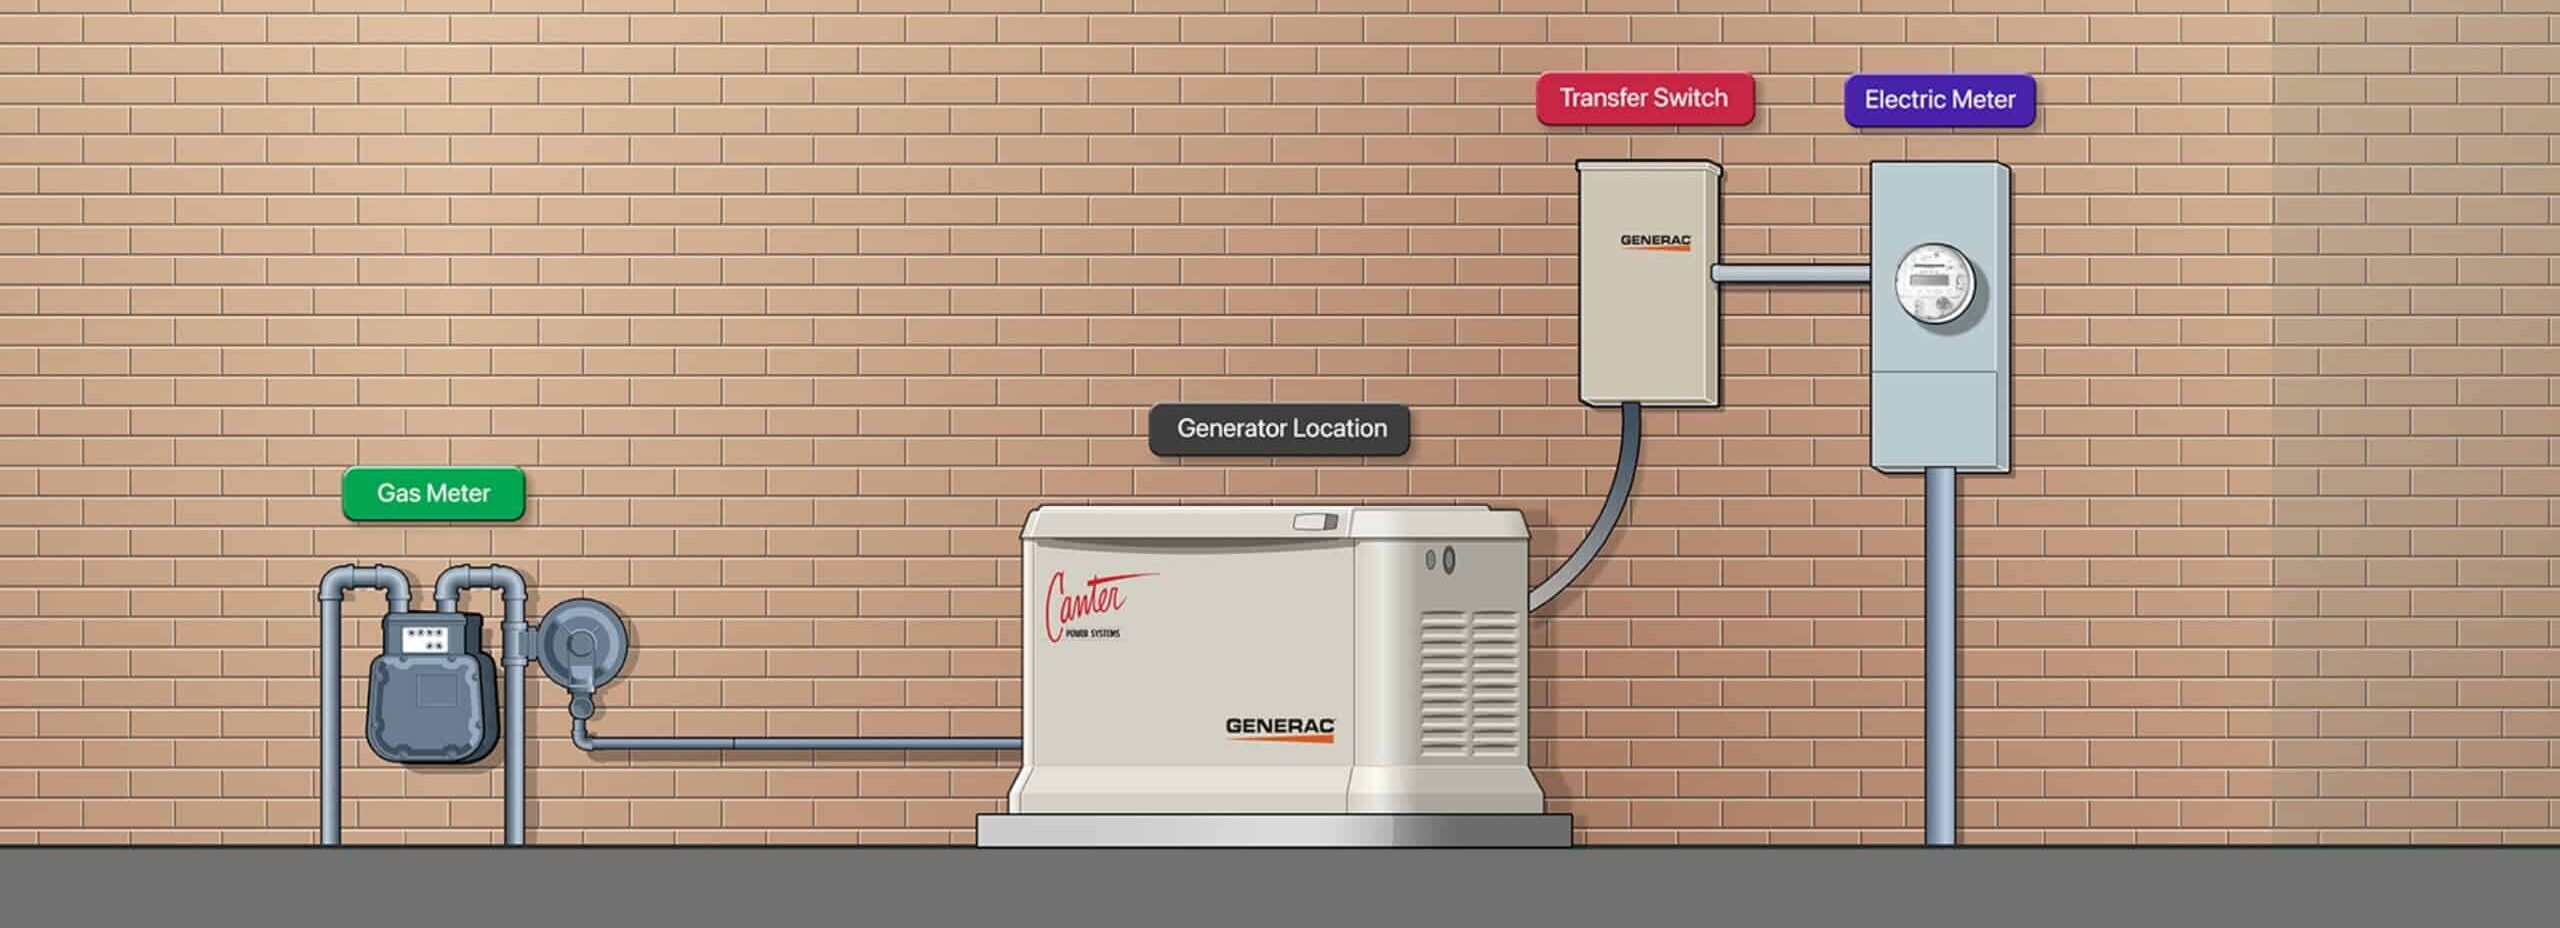
Transfer switchescontrol power flow between your generator and home. They ensure safe and smooth switching during power outages.
- Manual transfer switchesrequire you to flip a switch to start generator power.
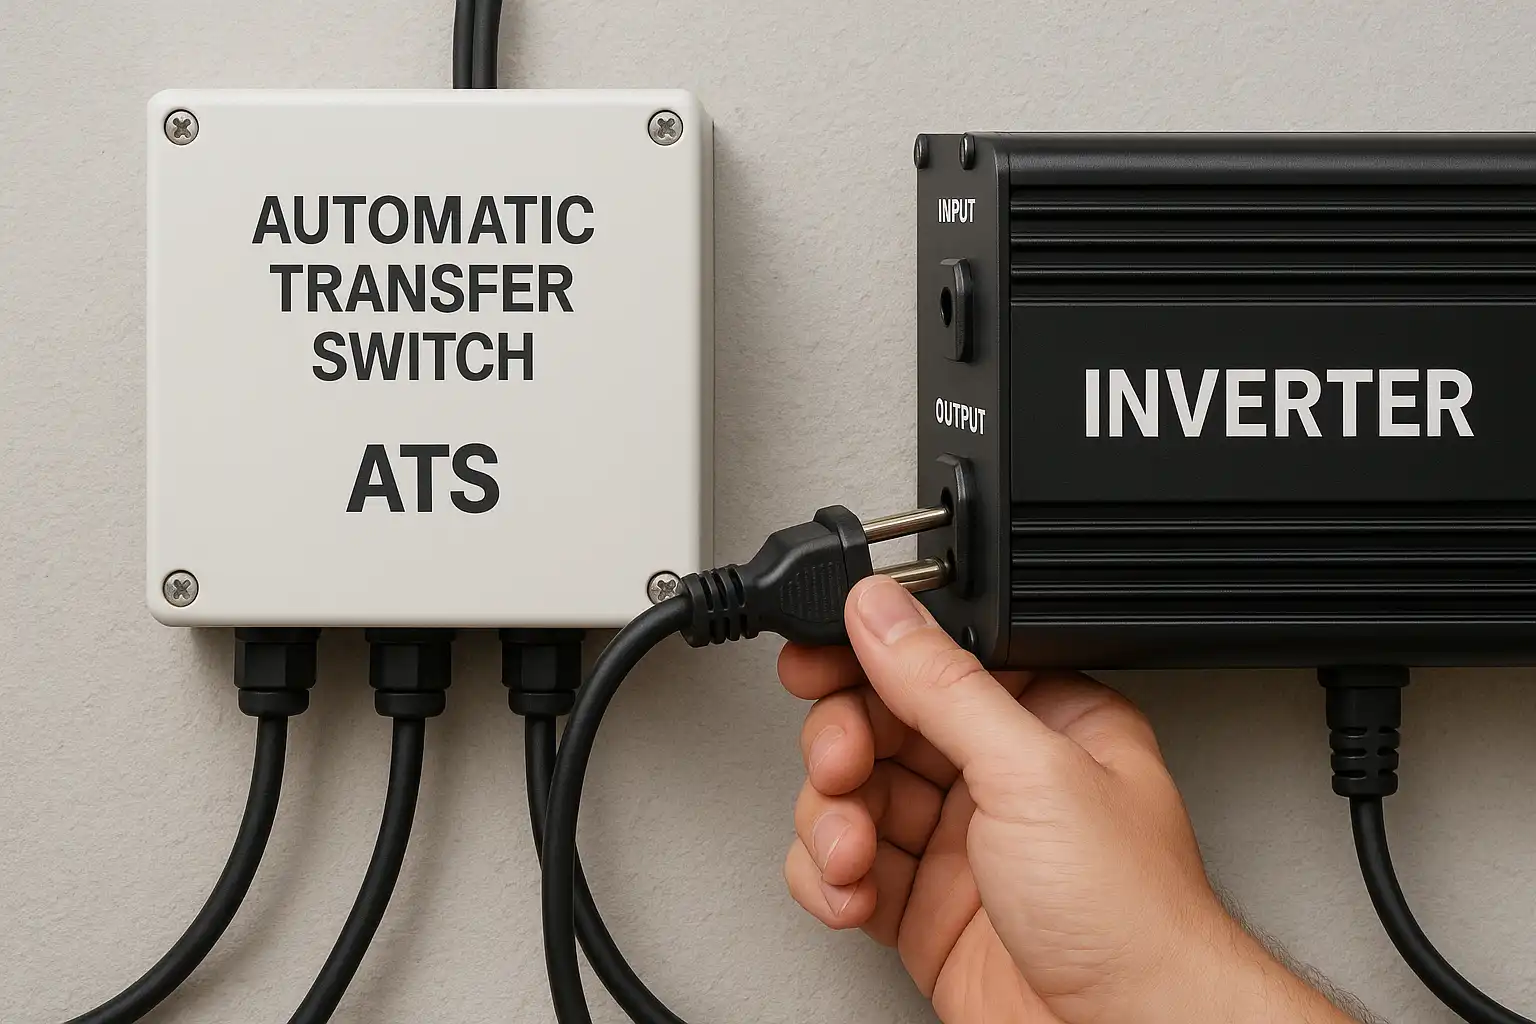
- Automatic transfer switches (ATS)detect outages and switch power automatically.
Size matters.A transfer switch must handle the generator’s power output. If too small, it risks damage or failure.
Check your generator’s wattage. Match the transfer switch rating to this number or higher.
| Generator Size (Watts) | Recommended Transfer Switch Size (Amps) |
|---|---|
| 5000 | 30 |
| 7500 | 40 |
| 10000 | 50 |
Ensure the transfer switch matches your generator’s brand and model. This keeps connections safe and functional.
Gathering Tools And Materials
Gathering the right tools and materials is importantfor installing a standby generator transfer switch.
Essential toolsinclude:
- Screwdrivers (flathead and Phillips)
- Wire strippers
- Voltage tester
- Drill with bits
- Adjustable wrench
- Electrical tape
- Level
Safety gearprotects you during installation. Wear:
- Insulated gloves
- Safety goggles
- Protective clothing
- Rubber-soled shoes
Required electrical componentsinclude:
| Component | Description |
|---|---|
| Transfer Switch | Controls power source switching |
| Electrical Cables | Connect generator and home circuits |
| Circuit Breakers | Protect electrical circuits |
| Conduit | Protect wiring |
Preparing The Installation Site
Choose a dry, well-ventilatedspot near your main electrical panel. It should be easy to reach and away from direct sunlight or heavy rain. Make sure there is enough space for the transfer switch and clear access for wiring.
Check local building and electrical codesbefore starting. These rules help keep the installation safe and legal. Contact your local authority to confirm all necessary permits and inspections needed for your area.
- Turn off the main power supply before starting work.
- Use a voltage tester to ensure no electricity is flowing.
- Wear protective gear like gloves and goggles for safety.
- Keep children and pets away from the work area.

Credit: joshlaferriereelectric.com
Wiring The Transfer Switch
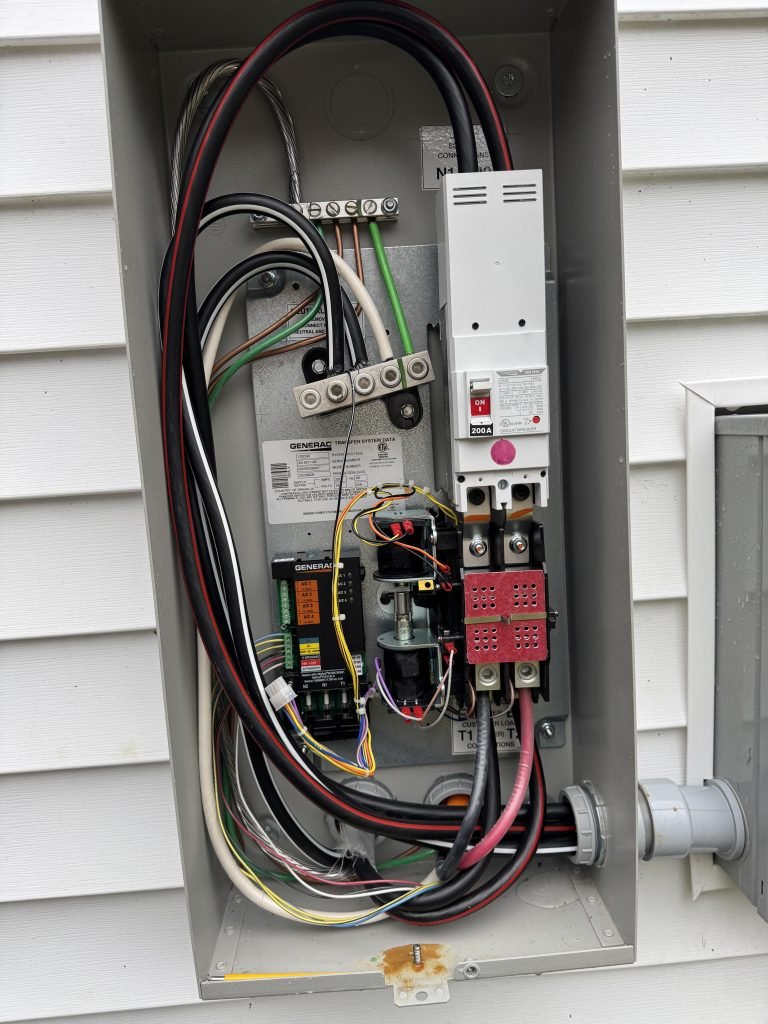
Start by turning off power to the main electrical panel. This ensures safety while working. Remove the panel cover carefully and locate the circuit breakers. Identify the circuits you want the transfer switch to control. Connect the transfer switch wires to the same breakers. Use wire nuts to secure connections tightly.
For the generator connection, run the wires from the generator to the transfer switch. Use the correct wire gauge based on the generator’s power rating. Connect the wires to the generator terminals as shown in the manual. Double-check all connections for tightness and correctness.
| Grounding and Bonding Task | Details |
|---|---|
| Ground Wire | Connect the ground wire from the generator to the grounding bus bar. |
| Bonding | Ensure the generator frame is bonded to the grounding system. |
| Panel Ground | Check that the main panel is properly grounded before connecting the switch. |
Mounting The Transfer Switch
Choose a spot close to your main electrical panel for the transfer switch. It should be easy to reach and away from water or heat sources. Use a level to keep the switch straight.
Secure the switch with strong screws or bolts. Make sure it is firm and will not move. Check that the switch is mounted at a good height for easy access.
Seal all holes around the switch to stop water from getting inside. Use weatherproof covers and gaskets to protect the switch from rain and dust. The switch box should be made for outdoor use if installed outside.
- Mount on a flat, stable surface
- Keep near the main panel
- Seal all openings tightly
- Use weatherproof materials
- Check local codes for installation rules
Testing The Transfer Switch
Turn on the main power to the transfer switch carefully. Check if the switch shows power. Listen for any unusual sounds from the switch.
Test the switch by moving it between the utility and generator positions. The power should switch smoothly without sparks or noise. Check if all connected devices get power correctly. This ensures the switch works as it should.
| Common Issue | Possible Cause | Fix |
|---|---|---|
| No power to devices | Loose wiring or blown fuse | Check and tighten wires, replace fuse |
| Switch won’t move | Mechanical blockage or debris | Inspect switch and clean or clear debris |
| Unusual noise during switch | Internal damage or worn parts | Contact a professional for repair |
Maintenance Tips
Routine inspection helps keep the transfer switch working well. Check for loose wires or signs of wear. Look for any rust or dirt that might block connections. Test the switch to make sure it changes power smoothly.
Cleaning and servicing keep parts in good shape. Use a soft brush or cloth to remove dust. Avoid using water or harsh chemicals. Lubricate moving parts lightly to prevent sticking. Replace any worn-out parts immediately.
Updating components ensures safety and efficiency. Use parts recommended by the manufacturer. Check for software updates if your switch has digital controls. Keep a record of all maintenance activities for future reference.
Credit: canterpowersystems.com
Credit: www.onesto-ep.com
Frequently Asked Questions
What Is A Standby Generator Transfer Switch?
A standby generator transfer switch safely connects your generator to your home’s electrical system. It prevents back-feeding power to the grid. This switch ensures seamless power transfer during outages. It protects utility workers and your appliances from electrical hazards.
How Do I Install A Transfer Switch For A Generator?
First, turn off the main power supply to your home. Mount the transfer switch near your main electrical panel. Connect the switch to your home’s circuits and generator according to the manufacturer’s instructions. Test the system to ensure proper operation before use.
Can I Install A Transfer Switch Myself Safely?
Yes, if you have electrical knowledge and follow safety codes. However, hiring a licensed electrician is recommended. Improper installation can cause serious hazards. Professional installation ensures compliance with local regulations and reliable system performance.
How Much Does Installing A Transfer Switch Cost?
Costs typically range from $500 to $1,500, depending on switch type and labor. DIY installation saves money but requires skill. Professional installation includes parts, labor, and permits. Costs vary by location and electrical panel complexity.
Conclusion
Installing a standby generator transfer switch keeps your home powered safely. It helps avoid power outages and protects your electrical system. Follow the steps carefully and use the right tools. Always check local rules before starting any work. When done right, it gives peace of mind during storms or blackouts.
Remember, safety comes first. Don’t rush the process. Take your time and double-check each connection. Your home will stay comfortable even when power goes out.