When the lights go out, having a backup generator can be a lifesaver. But to make sure your generator starts automatically during a power outage, you need an Automatic Transfer Switch (ATS).
This guide will show you exactly how to install a generator ATS, so you can enjoy peace of mind knowing that your home or business is always powered up. Imagine the comfort and security of never having to worry about being left in the dark again.
You’re about to discover the straightforward steps that will empower you to handle this task with confidence. Ready to take control of your power supply and ensure your generator works seamlessly? Let’s get started.

Credit: m.youtube.com
Choosing The Right Ats
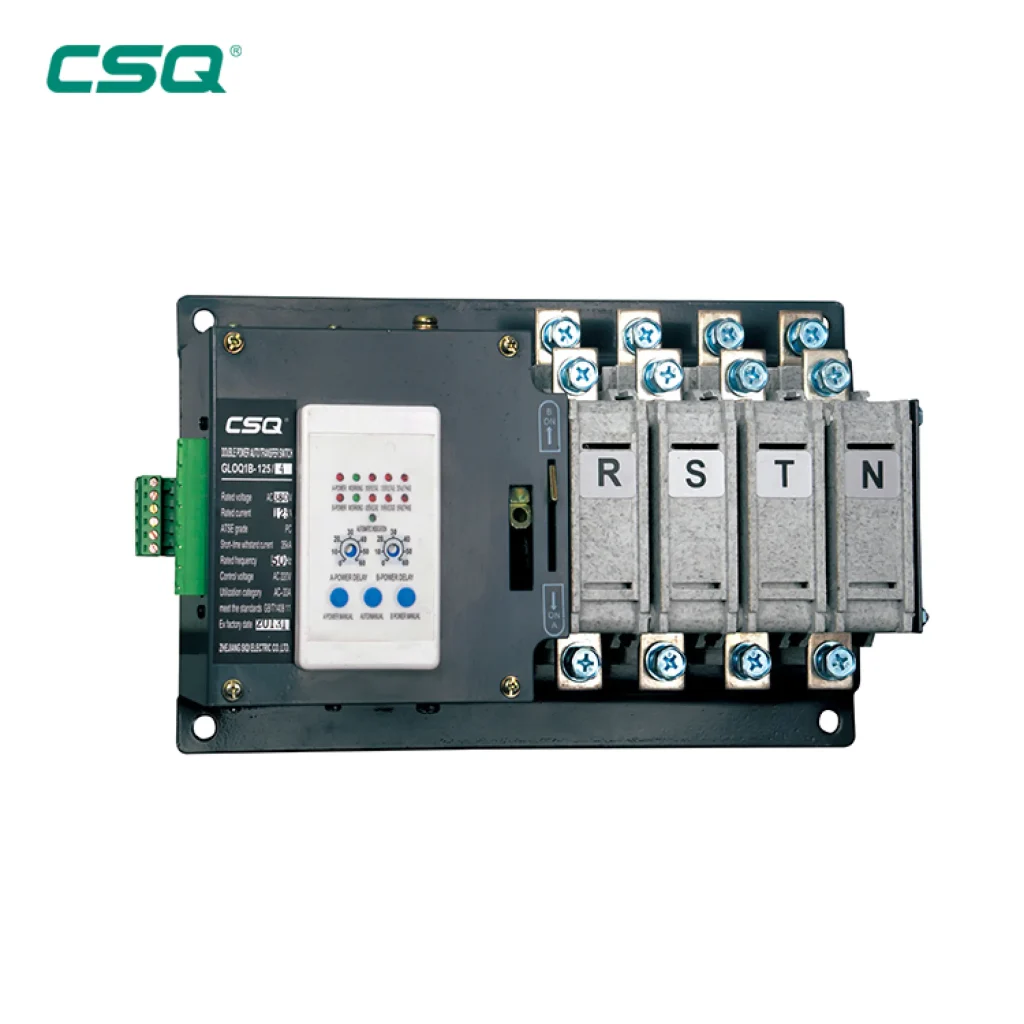
Automatic Transfer Switches (ATS)control power flow between utility and generator. There are different typesof ATS:
- Open Transition:Switches power with a brief pause.
- Closed Transition:Transfers power without interruption.
- Delayed Transition:Waits before switching to avoid quick toggling.
Choosing the right ATS depends on generator size and capacity. The ATS must handle the full loadof the generator.
| Generator Capacity (kW) | Recommended ATS Rating (Amps) |
|---|---|
| 1 – 10 kW | 30 – 60 A |
| 11 – 50 kW | 60 – 100 A |
| 51 – 100 kW | 100 – 200 A |
| 100+ kW | 200+ A |
Safety is key. Choose ATS with certifications like UL or CSA. They meet industry standardsfor safe operation.
Preparing For Installation
Tools and materials neededinclude a voltage tester, screwdrivers, wire strippers, and a wrench set. Make sure to have the ATS unit, electrical wires, conduit, and mounting hardware ready. Safety gear such as gloves and goggles is essential to protect yourself during installation.
Site assessment and safety measuresinvolve checking the area for clear access and dry conditions. Confirm no obstacles block the workspace. Ensure the ground is level and stable for the ATS unit. Keep a fire extinguisher nearby in case of emergencies. Always follow local electrical codes and regulations.
Power source shutdown proceduresrequire turning off the main breaker to cut power. Use a voltage tester to confirm no current flows. Inform anyone affected by the shutdown to avoid accidents. Never touch live wires or terminals. Double-check all power sources before starting work.
Wiring The Ats
Connect the generator’s output wires to the ATS input terminals. Use wires that match the generator’s voltage and amperage. Check the ATS manual for the exact terminal labels. Tighten all connections securely to avoid loose contacts.
Run wires from the ATS output terminals to the main panel’s input breaker. Use proper wire gauge for the load. Label each wire clearly for easy identification during maintenance or troubleshooting.
| Grounding and Bonding Task | Action |
|---|---|
| Grounding the ATS | Connect the ATS grounding terminal to the building’s grounding system using a copper wire. |
| Bonding Generator Frame | Attach a grounding wire from the generator frame to the ATS grounding point. |
| Check Continuity | Use a tester to ensure all grounds are properly connected and continuous. |
Configuring The Ats
Transfer parameterscontrol how the ATS switches power sources. Set the voltageand frequency thresholdscarefully. Adjust the delay timeto avoid false triggers. Ensure the ATS matches the generator and mains specifications. Use the user manual for exact settings. Proper configuration prevents power interruptions and equipment damage.
Testing ATS functions is key. Start by simulating a power failure. Check if the ATS switches to generator power smoothly. Verify the return to mains power after restoration. Listen for unusual noises and watch for error lights. Testing confirms the ATS works when needed.
Troubleshooting common issues involves simple checks:
- Ensure power supply to the ATS is stable.
- Check all wiring connections for tightness.
- Look for blown fuses or tripped breakers.
- Reset the ATS if it shows error codes.
- Consult the manual for specific error messages.
Regular maintenance helps avoid problems.
Final Checks And Maintenance
Check all electrical connectionsto ensure they are tight and secure. Loose wires can cause power failuresor safety risks. Look for any signs of corrosionor damage on terminals. Clean and replace parts if needed.
Perform routine maintenance regularly to keep the ATS working well. This includes:
- Testing the automatic transfer switchmonthly
- Cleaning dust and dirt around the unit
- Checking for unusual noises or smells
- Lubricating moving parts
Follow strict safety rules after installation. Always turn off power before touching the ATS. Use proper toolsand wear protective gear. Keep the area dry and clear of obstructions. Label the ATS clearly for easy identification.

Credit: www.onesto-ep.com

Credit: www.duthiepower.com
Frequently Asked Questions
What Is A Generator Ats And Why Install It?
A Generator Automatic Transfer Switch (ATS) automatically switches power from the main source to the generator during outages. Installing it ensures uninterrupted electricity, safety, and convenience. It prevents manual intervention and protects appliances from power surges.
How Do I Safely Install A Generator Ats?
First, turn off the main power supply and follow the manufacturer’s wiring diagram. Connect the ATS between your main power and generator. Ensure grounding and use proper circuit breakers. Always consult a licensed electrician for safety and compliance.
What Tools Are Needed To Install A Generator Ats?
You will need a screwdriver, wire stripper, voltage tester, drill, and mounting hardware. Personal protective equipment like gloves and safety glasses is essential. Having a multimeter helps verify electrical connections for a safe installation.
Can I Install A Generator Ats Myself Or Hire A Professional?
While DIY installation is possible with electrical knowledge, hiring a licensed electrician is safer. Professionals ensure code compliance, proper wiring, and reduce risks of damage or injury. It guarantees efficient and reliable ATS operation.
Conclusion
Installing a generator ATS helps keep your power safe and steady. Follow the steps carefully for best results. Always check your work to avoid problems later. Use the right tools and parts for a smooth setup. Remember, safety matters most during installation.
Taking time now saves you from future troubles. Enjoy reliable power when you need it most.