
Are you concerned about the reliability of your generator oil sensor? Knowing how to test it can save you from unexpected breakdowns and costly repairs.
Imagine being in the middle of an important task, only to have your generator fail because of a faulty oil sensor. It’s a situation no one wants to face. By understanding and testing your generator oil sensor, you ensure that your equipment runs smoothly when you need it most.
In this guide, you’ll discover simple, straightforward steps to check your sensor’s functionality. This proactive approach can provide peace of mind and extend the life of your generator. Stay with us as we walk you through the process, ensuring you and your generator are always prepared for whatever comes next.
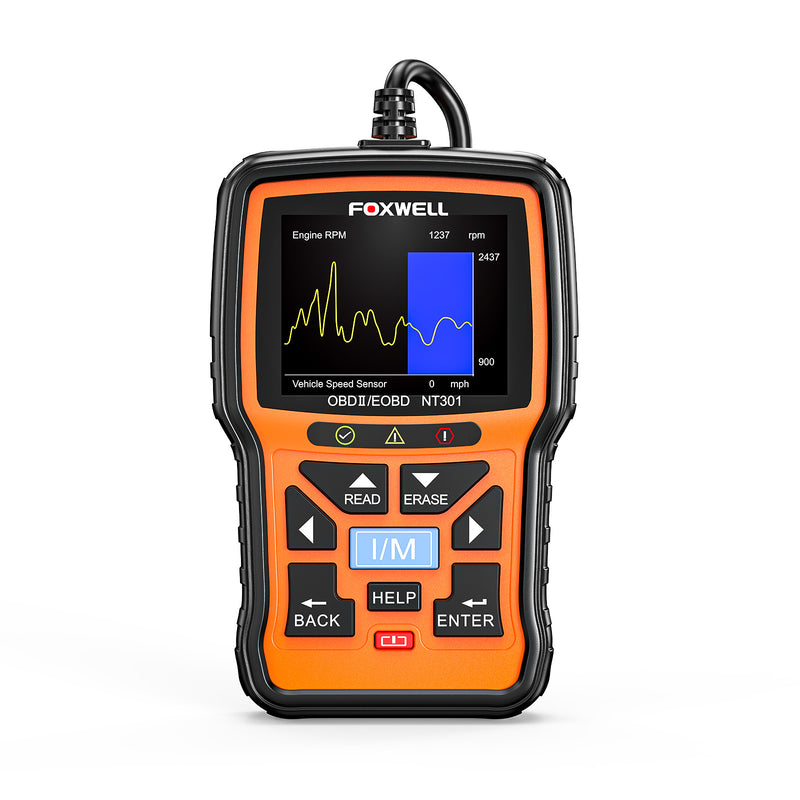
Credit: www.foxwelldiag.com
Importance Of Generator Oil Sensors
Generator oil sensorshelp protect the engine by checking oil levels and pressure. They send signals to the control panel to warn about low oil or oil problems. This helps avoid engine damage and costly repairs.
The sensor’s roleis to keep the engine running smoothly. It detects if oil pressure is too low or if oil is dirty. This stops the engine from running without enough oil, which can cause serious harm.
Signs of sensor failureinclude:
- Warning lights stay on even when oil is fine
- Oil pressure readings are erratic or missing
- Engine runs roughly or stops suddenly
- Unusual noises coming from the engine
Tools Needed For Testing
Testing a generator oil sensor requires some basic toolsand safety gear. Having the right equipment makes the job easier and safer.
- Multimeter:Measures electrical values like voltage and resistance.
- Socket set:Helps remove the sensor from the generator.
- Wrench:Used to loosen and tighten sensor bolts.
- Cleaning cloth:Keeps the sensor and area clean during testing.
- Replacement sensor:Needed if the original one is faulty.
Safety gear is important to protect yourself. Use glovesto avoid oil contact with skin. Wear safety gogglesto protect eyes from splashes. Use long sleevesto prevent skin irritation. Always work in a well-ventilated areato avoid breathing harmful fumes.
Preparing The Generator
Turn off the generator completely. Let it cool down for at least 30 minutes. This avoids burns or injuries.
Find the oil sensor by checking near the oil filter or oil pan. It usually looks like a small plug with wires.
- Check the user manual for the exact sensor location.
- Use a flashlight for better visibility in dark areas.
- Make sure the area around the sensor is clean before testing.
Step-by-step Testing Process
Start with a visual inspectionof the oil sensor and its wiring. Look for any signs of damage, corrosion, or loose connections. Clean the sensor and connectors if needed to ensure good contact.
Use a multimeterto check if the sensor is working properly. Set the multimeter to measure resistance or continuity. Connect the probes to the sensor terminals carefully. The reading should match the sensor’s specifications.
Check the sensor resistanceby comparing it to the values given by the manufacturer. This helps find if the sensor is faulty or not. Resistance may change with oil levels or temperature, so note the conditions during testing.
Simulate different oil levelsby gently tilting the sensor or using a container with oil. Watch how the sensor readings change on the multimeter. Proper response means the sensor is working well.
Interpreting Test Results
Normal sensor readings show stable oil pressure within the safe range. These readings ensure the generator runs smoothly without damage.
Faulty readings often appear as sudden drops or spikes in oil pressure. This can signal sensor problems or oil leaks.
Testing results should be compared to the manufacturer’s specifications. Always check the sensor’s voltage or resistance values.
| Error Code | Meaning | Possible Cause |
|---|---|---|
| P0520 | Oil Pressure Sensor Circuit Malfunction | Damaged sensor or wiring issue |
| P0521 | Oil Pressure Sensor Range/Performance | Sensor out of calibration |
| P0522 | Oil Pressure Sensor Low Input | Low oil pressure or bad sensor |
| P0523 | Oil Pressure Sensor High Input | Short circuit or sensor failure |

Credit: www.youtube.com
Troubleshooting Sensor Issues
The oil sensor can get dirty from dust and oil residue. Use a clean cloth and a mild cleaner to wipe it gently. Avoid harsh chemicals that can damage the sensor. Let the sensor dry completely before testing it again.
Replacing the sensor is needed when cleaning does not fix the problem. Get the correct sensor model for your generator. Disconnect the battery before removing the old sensor. Install the new one and connect all wires securely.
Call a professional if the sensor still shows errors after replacement. Also, seek help if you feel unsure about handling the sensor. Professionals have the right tools and knowledge to fix sensor problems safely.
Maintaining Sensor Accuracy
Regularly check the oil sensorfor dirt or damage. Clean the sensor gently to avoid errors. Inspect wiring and connectors for tightness and wear. Sensor accuracy depends on proper maintenance.
Change the oil at set intervals. Use the right type and qualityof oil as recommended. Avoid mixing oil types; it can cause sensor issues. Always replace the oil filter during oil changes. This keeps the sensor reading accurate and reliable.

Credit: www.youtube.com
Frequently Asked Questions
How Do I Test A Generator Oil Sensor?
To test a generator oil sensor, first turn off the generator. Disconnect the sensor wiring. Use a multimeter to check sensor resistance. Compare readings with manufacturer specifications. Replace the sensor if readings are outside the recommended range.
What Tools Are Needed To Test Oil Sensors?
You need a multimeter, screwdrivers, and safety gloves. A multimeter measures electrical resistance and voltage in the sensor. Screwdrivers help disconnect the sensor. Gloves protect your hands from oil and dirt during testing.
How Often Should I Test My Generator Oil Sensor?
Test the generator oil sensor at least once a year. Regular testing prevents unexpected failures and ensures accurate oil level readings. Check more frequently if your generator operates in harsh conditions or high usage.
What Are Signs Of A Faulty Oil Sensor?
Signs include inaccurate oil level readings, warning lights, or generator shutdowns. A faulty sensor can cause engine damage if undetected. Testing helps identify sensor issues early to avoid costly repairs.
Conclusion
Testing your generator oil sensor helps keep your engine safe and reliable. Regular checks spot problems early and save repair costs. Use simple tools and follow clear steps for accurate results. Remember, a working oil sensor means better engine health and longer life.
Stay consistent with testing to avoid unexpected breakdowns. This small task protects your investment and ensures smooth generator operation. Keep your generator running strong by paying attention to its oil sensor.