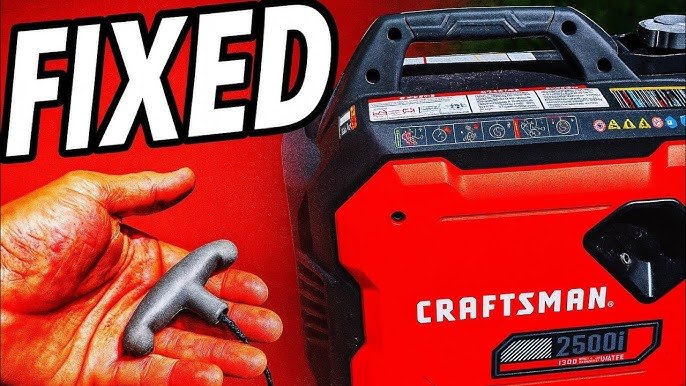
A damaged generator cord plug can feel like a small problem, but it can lead to big headaches if you don’t fix it properly. You might be worried about getting shocked or causing more harm than good.
Maybe you’re not even sure where to start. We’ve got you covered. You’ll discover simple steps to replace that broken plug and get your generator back up and running safely. Imagine the relief of knowing your generator is ready to go when you need it most.
Don’t let a faulty plug hold you back. Let’s dive in and solve this problem together, so you can feel confident in your DIY skills and keep your power flowing smoothly.
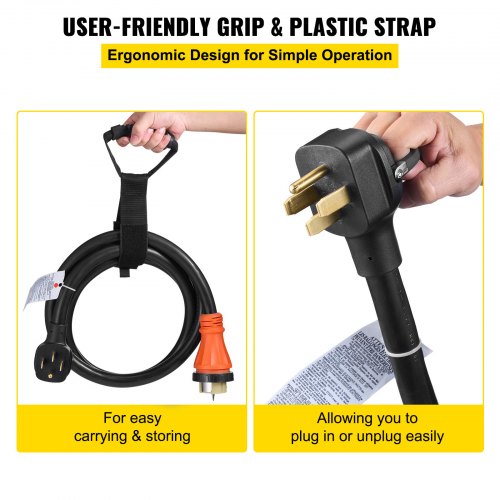
Credit: www.vevor.com
Safety Precautions
Ensure the generator is off and unplugged before starting. Use insulated tools to prevent electrical shocks. Double-check connections and secure the new plug firmly to avoid hazards.
Disconnect Power
Always turn offthe generator before starting. Make sure no power is flowing. This prevents shocks or burns. Check the plug and cord. Ensure they are not hot or sparking.
Wear Protective Gear
Put on glovesto protect your hands. Wear goggles to shield your eyes. Use boots to keep your feet safe. Protective gear is very important.
Work In A Safe Environment
Choose a clean and dryarea to work. Avoid wet or messy places. Good lighting is also needed. Keep tools organized and nearby. This helps prevent accidents.

Credit: www.reddit.com
Tools And Materials
Tools and Materials Gather essential tools like a screwdriver, wire cutters, and a replacement plug. Ensure you have protective gloves and goggles for safety. A voltage tester is crucial for checking connections. These items are necessary for safely replacing a damaged generator cord plug.
Essential Tools
A screwdriver is needed for opening the plug. Pliers help to pull wires safely. A wire stripper is used to remove wire insulation. A voltage tester checks if the wires are safe. These tools are very important.
Required Materials
A new plug is needed to replace the old one. It should match the generator’s power. Electrical tape helps to cover exposed wires. This keeps everything safe. Wire connectors join wires together. They make sure the connection is strong.
Optional Equipment
- A multimeter checks electrical current and voltage.
- Heat shrink tubing covers and insulates the wires.
- A small flashlight helps see better in dark places.
Identify The Problem
First, check the entire length of the cord. Look for any cuts or tears. Frayed wires are a big problem. Hold the cord in good light. Make sure you don’t miss any damage.
Check the plug at the end of the cord. Is it burned or melted? These are signs of damage. Tug gently on the plug. If it feels loose, it’s probably broken inside. You may see bent prongs too.
Examine the area around the plug. Look for scorch marks or smells. Make sure the plug housing is not cracked. If you find more damage, you may need a new cord. Always be safe with electricity. If unsure, ask an adult for help.

Credit: www.facebook.com
Remove The Damaged Plug
Remove the Damaged Plug Carefully cut away the damaged plug from the generator cord. Use a utility knife for precision. Ensure you don’t damage the internal wires while cutting.
Cut Off The Old Plug
Use wire cutters to remove the damaged plug. Make sure the generator is off first. Hold the cord firmly and cut the plug close to the base. This will give you a clean edge to work with. Be careful not to cut too much of the cord.
Strip The Cord Wires
Remove about an inch of the outer jacket. Use a wire stripper for this task. Gently pull back the jacket to reveal the wires inside. Be sure not to nick the wires.
Prepare The Wire Ends
Twist the wire strands together tightly. This keeps them from fraying. Make sure each wire end is neat and ready to connect. Check that the wires are clean and not damaged.
Install The New Plug
Install the New Plug Switch off the generator and unplug it from the power source. Use a screwdriver to remove the damaged plug. Strip the cord wires and attach them to the new plug, ensuring a secure fit.
Select The Correct Plug Type
Select a plug that matches your generator cord. Check the voltage and amp rating. Make sure the plug fits your cord type. Look for a plug with good durability. Avoid cheap plugs. They may not last long.
Connect The Wires
Match the wire colors to the plug. Black goes to black. White to white. Green to green. Use a screwdriver to open the plug. Attach each wire securely. Make sure wires are tight. Loose wires can cause problems. Double-check the connections.
Secure The New Plug
Close the plug tightly. Ensure no wires are exposed. Use the screws to seal the plug. Check the plug for sturdiness. Test the plug with your generator. Make sure it works correctly. If not, recheck your connections.
Test The New Plug
Plug the generator back into the power source. Make sure it’s connected firmly. Turn on the power switch. Check if the generator lights up. The new plug should work well. If not, recheck the connections.
Listen for a steady hum. This means the generator is working. Look at the lights or display. They should be on. If something seems off, stop and review the setup.
Inspect the plug and cord for any damage. Ensure no wires are exposed. Check for any sparks or smoke. Everything should look and smell normal. Safety is very important. A good plug keeps you safe.
Maintenance Tips
Replacing a damaged generator cord plug is simple with the right tools. First, disconnect the generator from power. Then, cut off the damaged plug and strip the wire ends. Attach the new plug according to the instructions. Finally, test the connection to ensure proper functionality.
Regular Inspection
Check the generator cord plug often. Look for frayed wires or loose connections. Make sure the plug is clean and dry. A dirty plug can cause problems. Replace damaged parts quickly. Safety is important.
Proper Storage
Store the generator cord in a cool, dry place. Avoid direct sunlight. Sunlight can make the cord brittle. Keep it away from water and oil. Use a cover to protect it from dust. Organize cords neatly to prevent tangling.
Handling Guidelines
- Hold the plug, not the cord.
- Unplug it gently.
- Don’t pull hard or yank.
- Avoid bending the cord sharply.
- Check the plug before use.
- Always ensure safety.
Frequently Asked Questions
Can You Replace A Power Cord Plug?
Yes, you can replace a power cord plug. Ensure you disconnect the power first. Use the correct tools and follow safety guidelines. If unsure, consult a professional electrician to avoid hazards. Proper installation ensures safe and effective use of electrical appliances.
Can You Repair A Damaged Plug?
Yes, a damaged plug can often be repaired. Ensure the power is off before starting. Replace damaged parts or wires. If unsure, consult a professional electrician for safety. Repairing plugs can prevent electrical hazards and improve device performance. Always use proper tools and follow safety guidelines when repairing.
How To Swap A Broken Plug?
Turn off the power supply. Unscrew the broken plug from the socket. Carefully remove the wires. Attach the wires to the new plug, ensuring correct connections. Securely screw the new plug into the socket. Turn the power supply back on to test the new plug.
What Color Wire Goes Where On A 3 Prong Plug?
Connect the green wire to the ground pin. Attach the white wire to the neutral pin. Connect the black wire to the hot pin. Always ensure connections are secure and follow safety guidelines.
Conclusion
Replacing a damaged generator cord plug is a simple task. Ensure safety by turning off the generator. Gather your tools and new plug. Follow the steps carefully to avoid mistakes. Secure the wires tightly for a solid connection. Test the generator after replacing the plug.
A properly installed plug ensures your generator works well. You’ll extend its lifespan and improve performance. Regular maintenance helps prevent future issues. Keep this guide handy for quick reference. Stay safe and enjoy uninterrupted power with your generator.